In this assignment, I had to take a picture of the school (I took one in the little grass area between parking lots by the athletic entrance) and edit it to look different. I photoshopped characters from the move The Nightmare Before Christmas, because it's almost Halloween. I also tinted the picture a reddish orange and made the sky purple. I also learned how to make shadows, because I had to make shadows for the pumpkins and for Sally in the background. I didn't make a shadow for Jack Skellington though, because the shadow of the tree kind of already looked like a shadow from him, so I works. This assignment definitely helped me learn several photoshop tools and I feel more comfortable using the program now.
0 Comments
f/2.2 1/40 IOS 500 (photo I turned in is top left) This is my cousin, Dylan. I took pictures of him while he stayed at my house for the weekend for this week's photo assignment. As you can tell from the pictures, Dylan portrays his emotion and personality in every expression and I found it comical looking at all of the faces he makes through my collection of pictures I took. I used my mom's camera with a low light lens because the lighting was dim and very yellow. I also had to time the photos I took very precisely because how fast Dylan would move. A lot of the pictures I took turned out blurry at first and I had to get used to his moving.
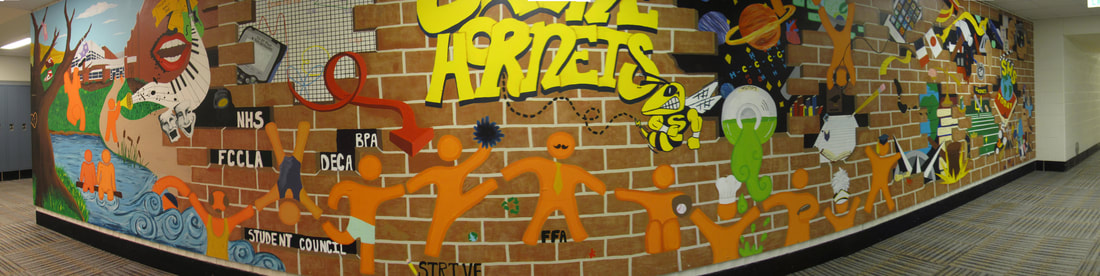 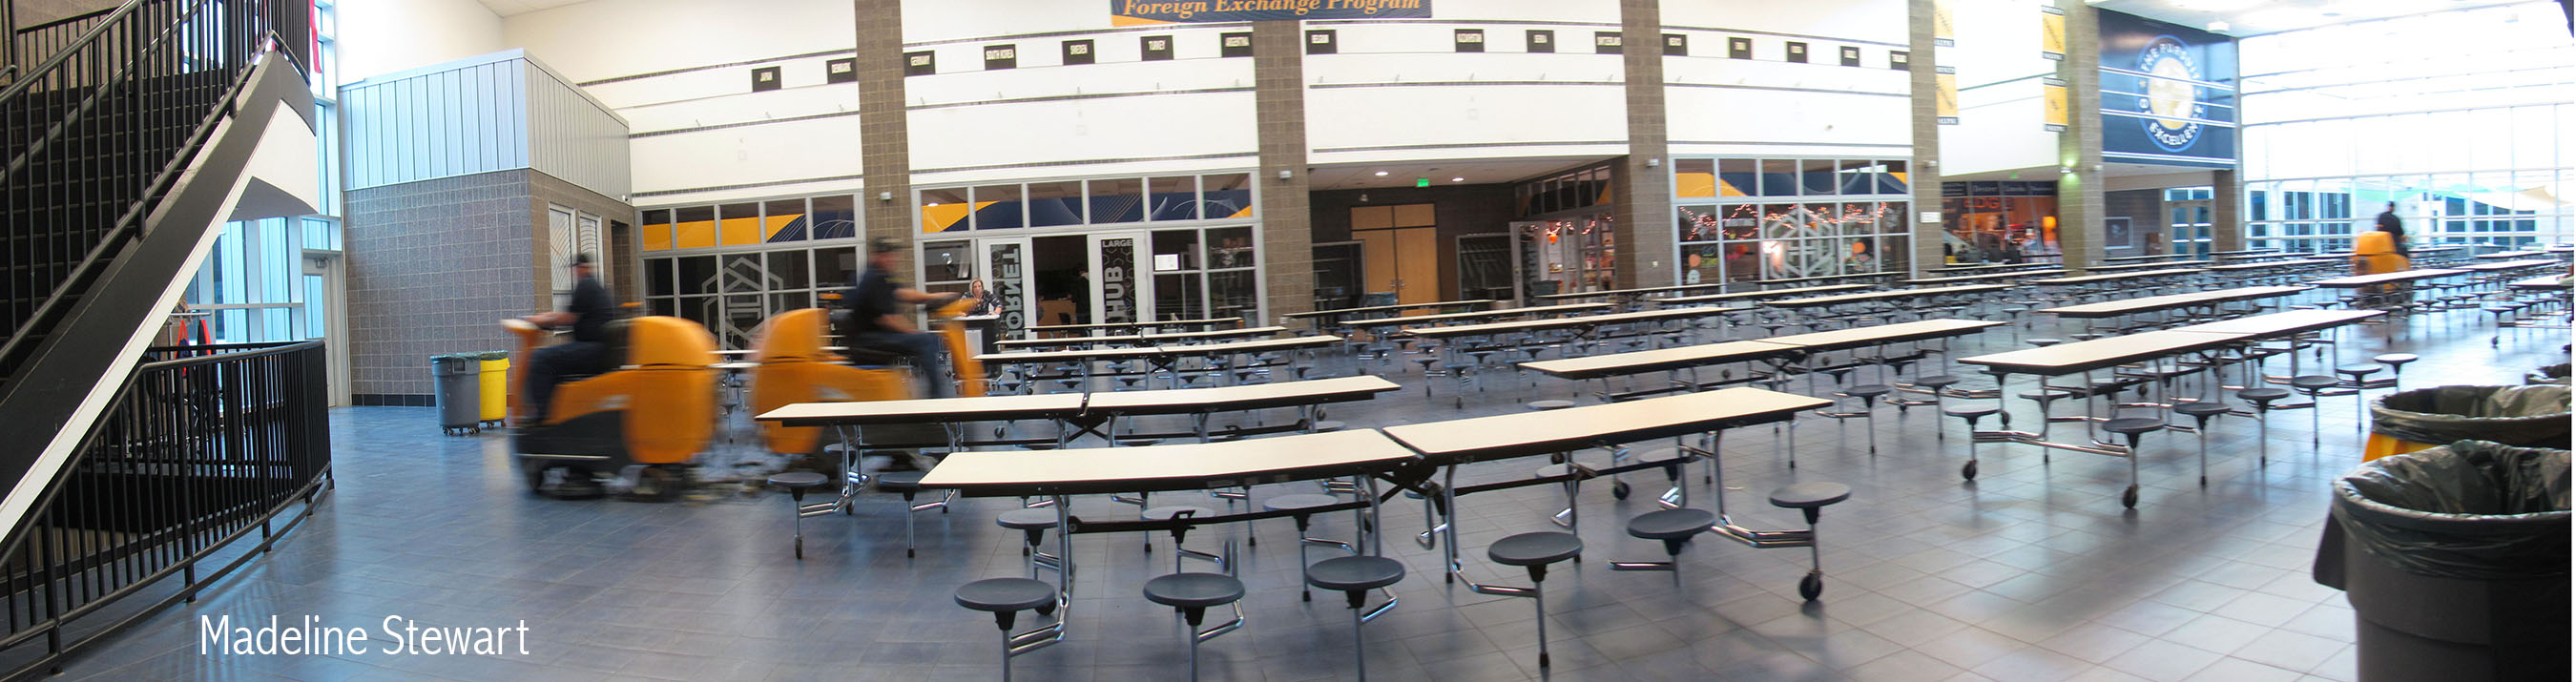 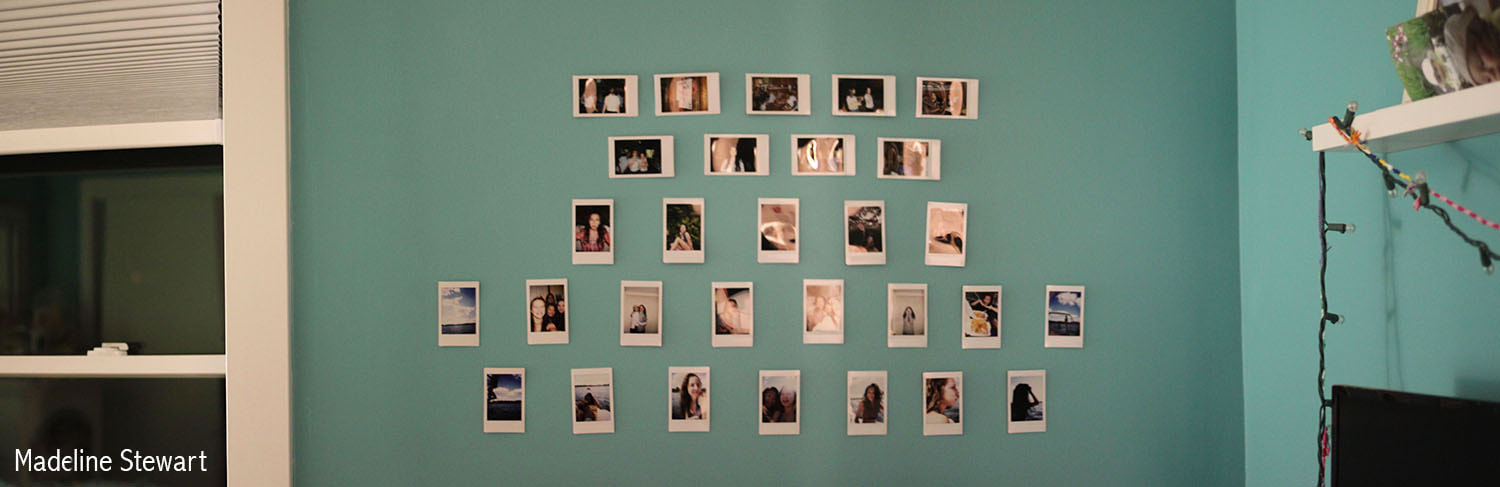 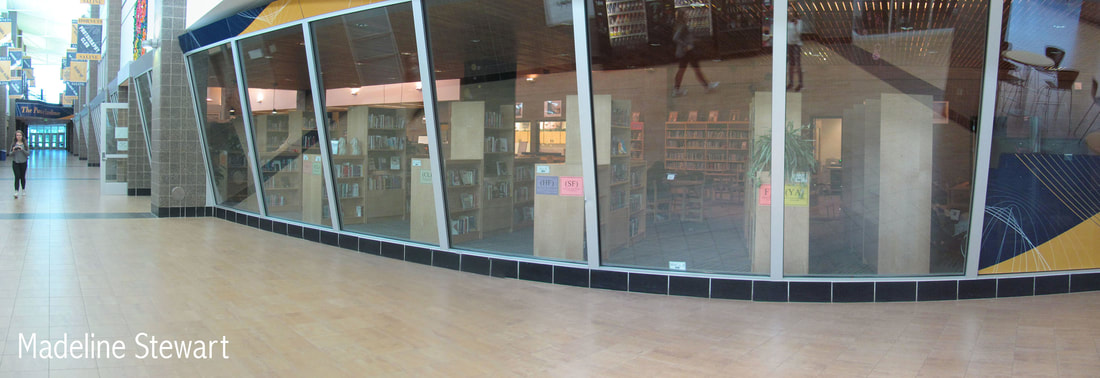 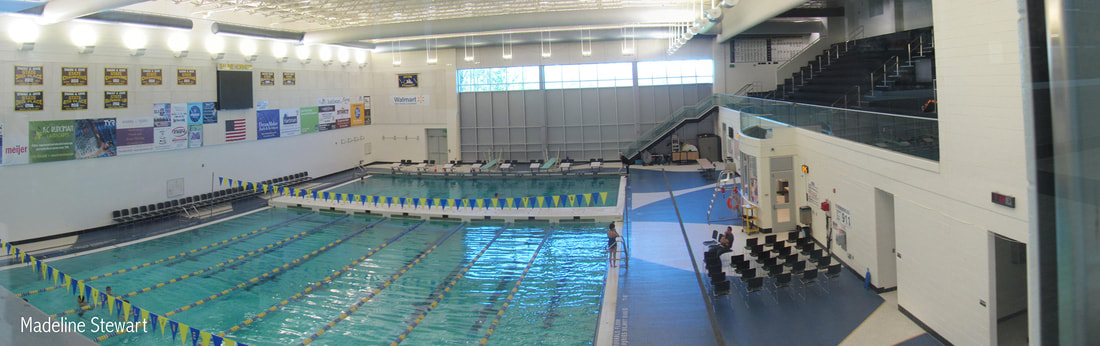 In this assignment, I had to make five panorama pictures by stringing together several pictures. It was fairly easy using the Photomerge program in Photoshop and I could quickly make my panoramas without hassle.
In this assignment, I had to take an already good picture by Noelle Jacobs and edit out glares and the background noise. I had a hard time figuring out the controls and what everything did at first, but I eventually got a hang of it. I learned how to use many of the tools including the stamp tool and the brush tool. These can be very useful when editing small flaws and imperfections in pictures. I will definitely be doing this on other pictures.
 f/2.0 1/30 ISO 1600 Middle picture was turned in! This is my puppy, Jax. He's a lazy boy but can do a lot of tricks (ie. middle far left, he is dancing in a circle) as long as he gets a treat afterward. I took these pitcures with my mom's Canon Rebel t2i with a short low light lens that doesn't zoom at all, so I had to get right in Jax's face in the very middle picture, which he didn't care for.
I quite enjoyed this assignment, because once we finished editing the picture of myself (above, top) I was allowed to edit any other picture of my choice. I chose a picture of Conan Grey (above, bottom) a true style icon and inspiration to the new generation. In the edited picture of myself, I had certain colors and levels of color I had to use, but for the picture of Conan, I made the yellow more of an orange and the blue more pale, then muted the vibrancy to kind of settle the colors a little bit. I didn't want the colors to be to as bright and blinding as the picture of me above it.
I learned in this assignment how to manipulate the colors in the drop down tabs at the top of the computer instead of using the tools right in photoshop and a few short-cut keyboard commands. Shutter Speed
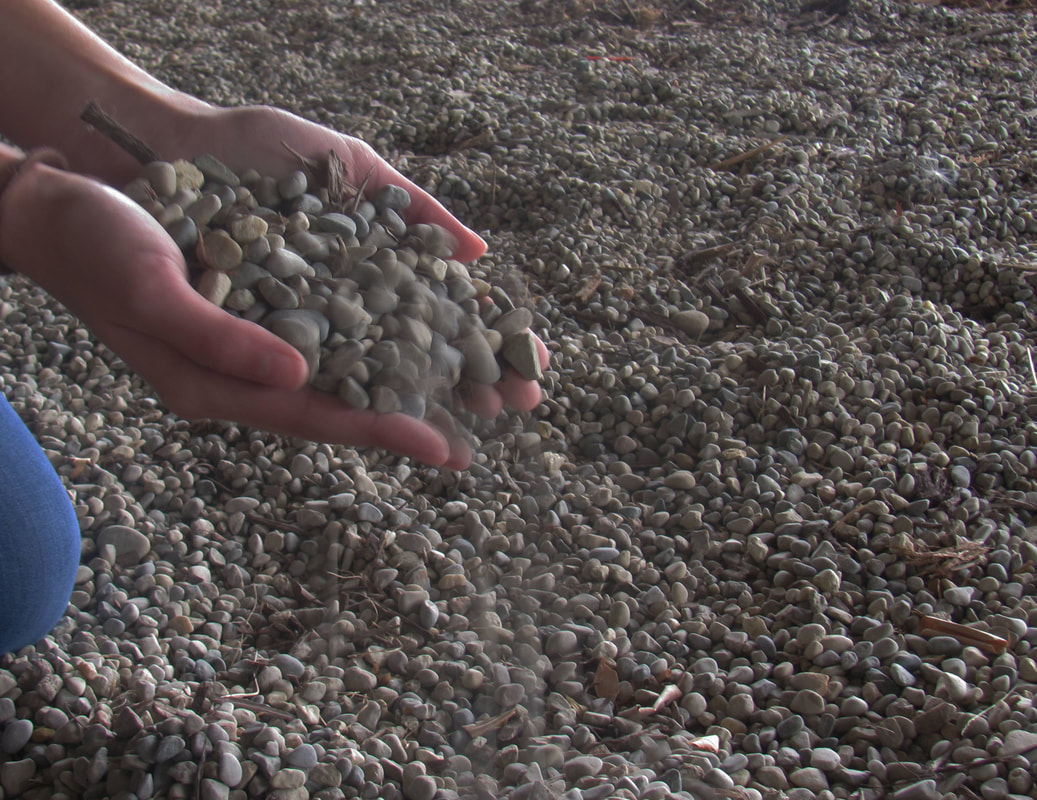
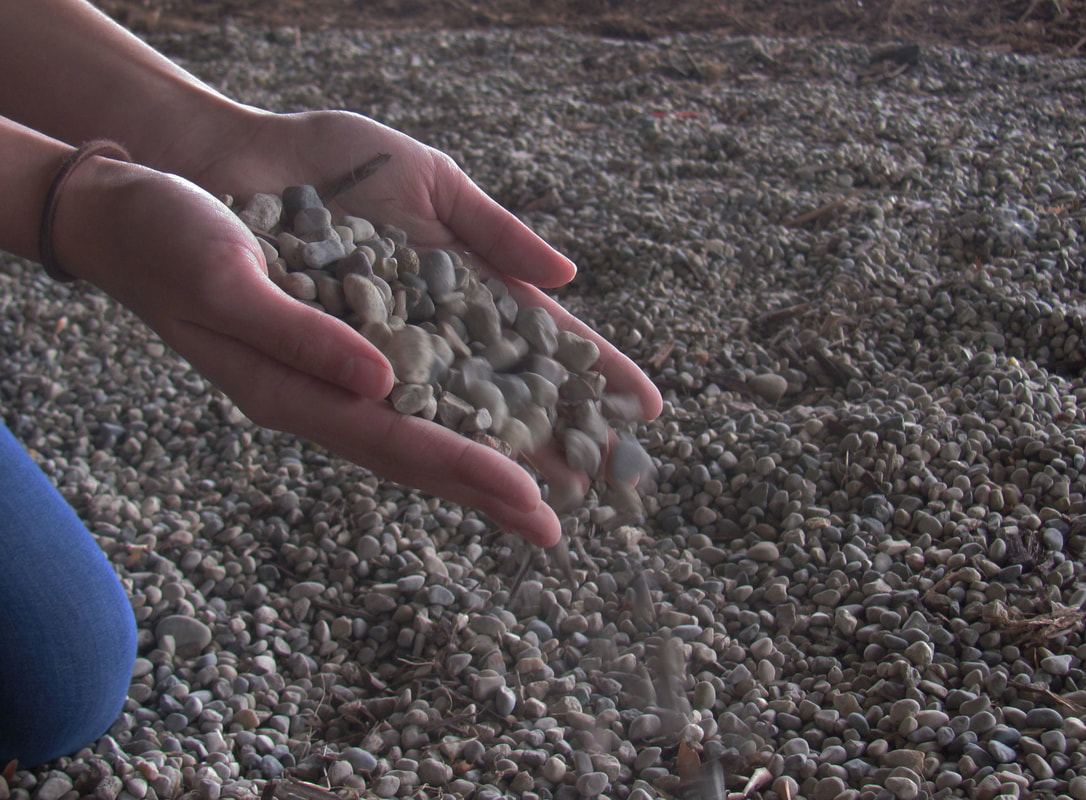
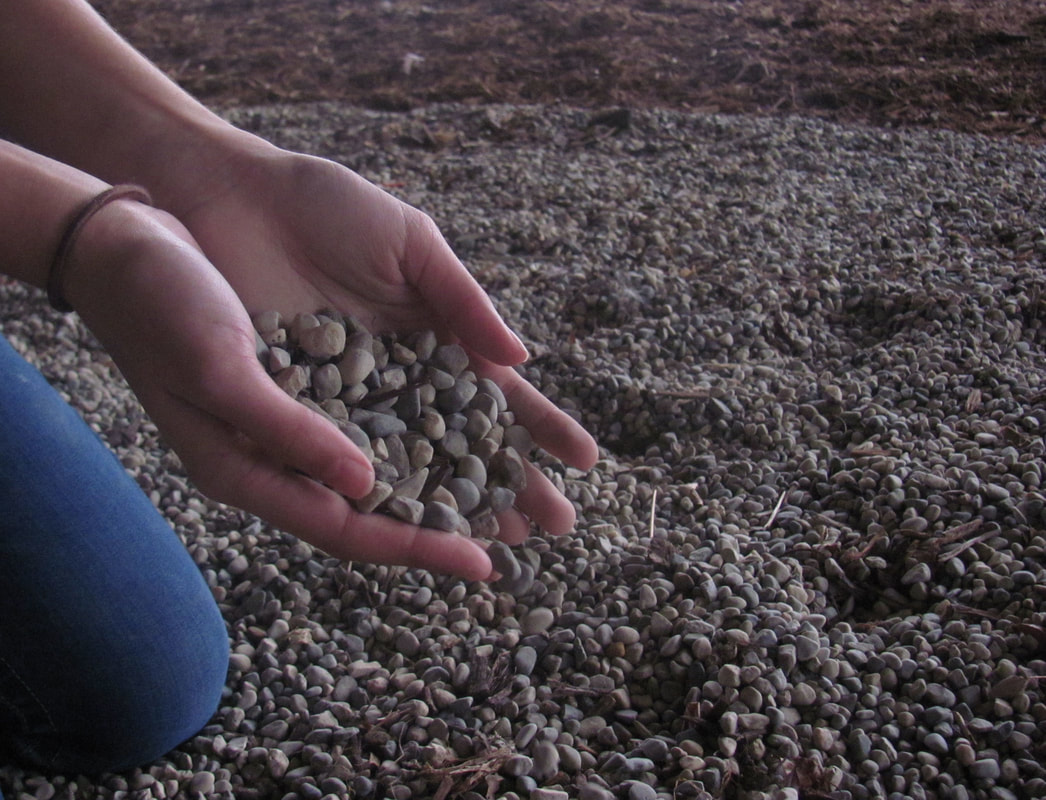
This week, we learned about shutter speed. As I took these pictures, I had Bella Patel (check out her picture blog here) slowly pour rocks out of her hand. With each picture, I made the shutter speed faster and faster, making the picture clearer and clearer. With shutter speed, the photographer can control the motion in the picture, which can be a very interesting tool to be able to use while taking pictures. Aperture
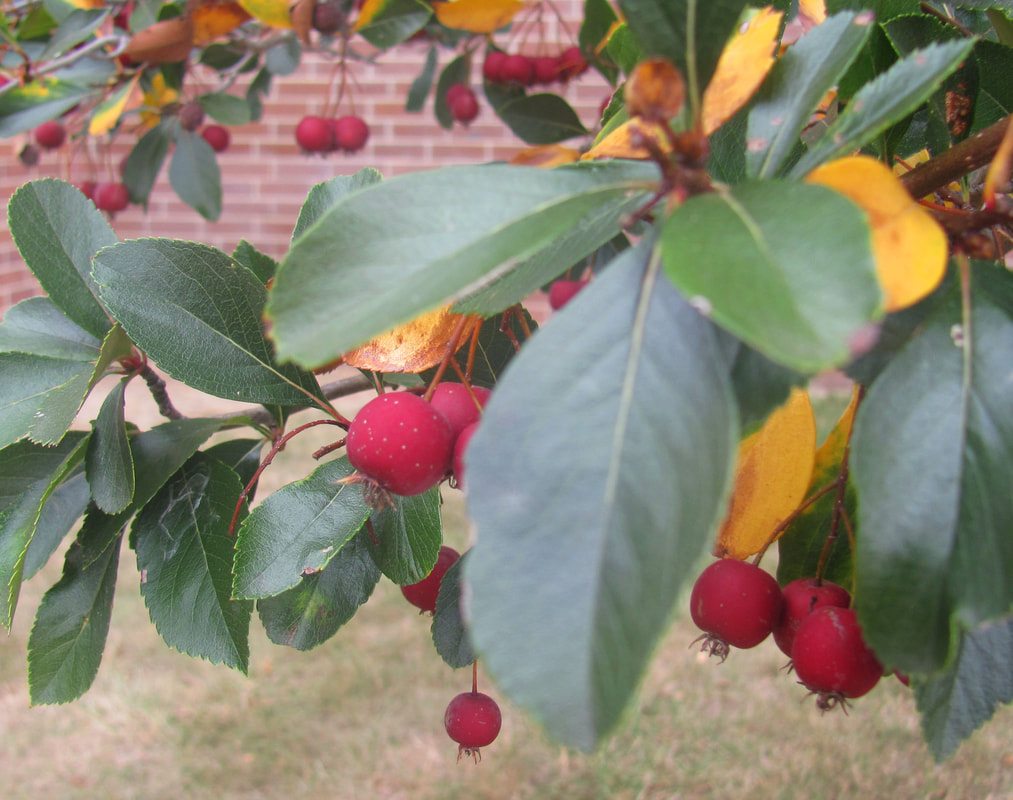
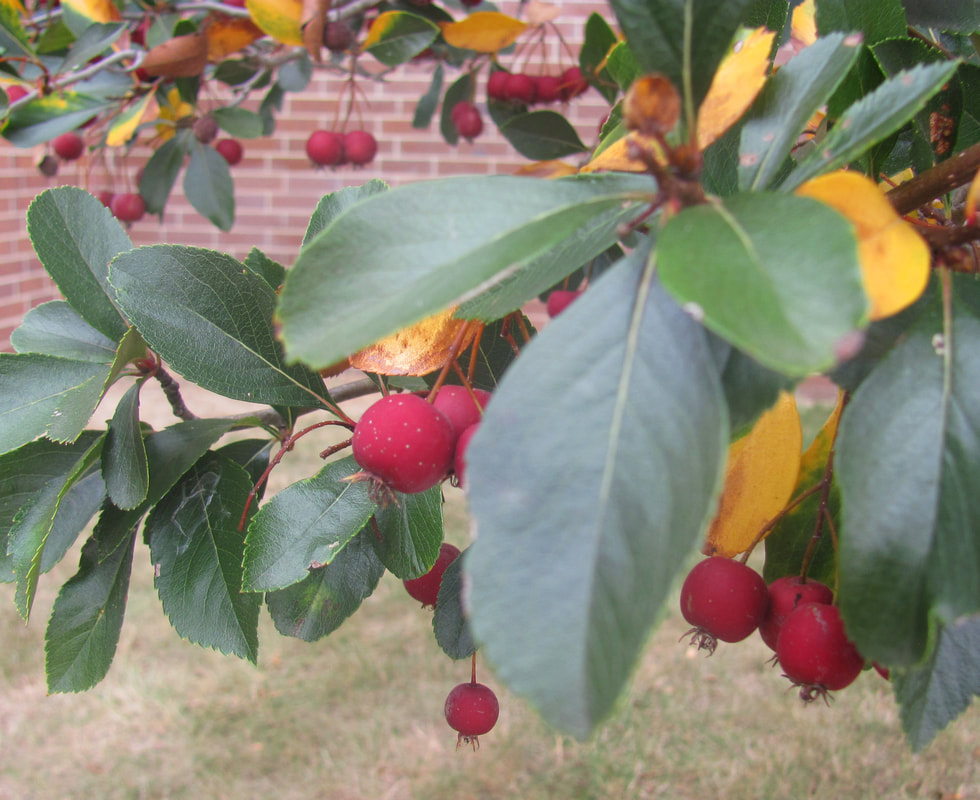
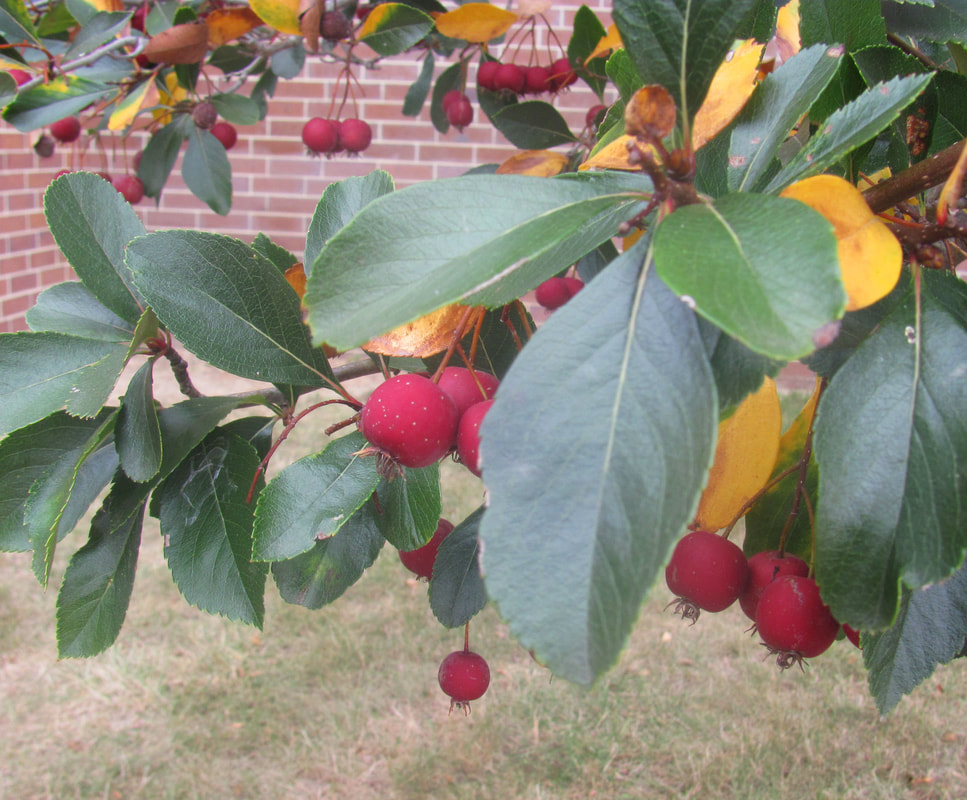
We also learned about aperture this week. Aperture is the opening in the lens that lets light in and controls the depth of field. In these four pictures, I changed the aperture from the lowest to the highest f-stop. I tried to show how the focus changed with each change in f-stop and you can kind of see what I was going for. Aperture is useful for controlling the point of focus in the picture and where your eye is drawn to.
 Balance Color Framing Perspective SpaceFor this assignment, we had to research five more photography techniques shown above. When I was taking pictures for this assignment, I felt much more comfortable with the camera and was able to spot possible pictures much quicker than my first assignment. I learned about how the manipulation of perspective and space can affect the tone and feeling of the resulting picture. This can be quite useful when wanting a particular mood for my pictures.
 Depth of Field Lines Pattern Rule of Thirds |
Fun Photos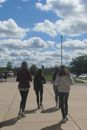
This picture above is of a few friends. I took advantage of the pretty sky in front of them and snapped a picture real quick before they walked too far away :)
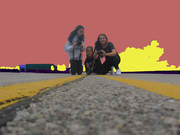
This is a picture I used for depth of field, but I edited the background to look cartoon-ish and block-ish. I just thought it looked cool and wanted to share it!
|